

Before you begin
You need an agent, a service account with workspace and agent access, and access to the data the agent will read. Ask your workspace administrator to configure these permissions. You also need someone who can add a token endpoint to your server and a script to your website.1. Open the setup instructions
On the agent home page, select Website → Embed under Where people use it to open Add to your website. It provides the token endpoint example and script for your environment and selected agent.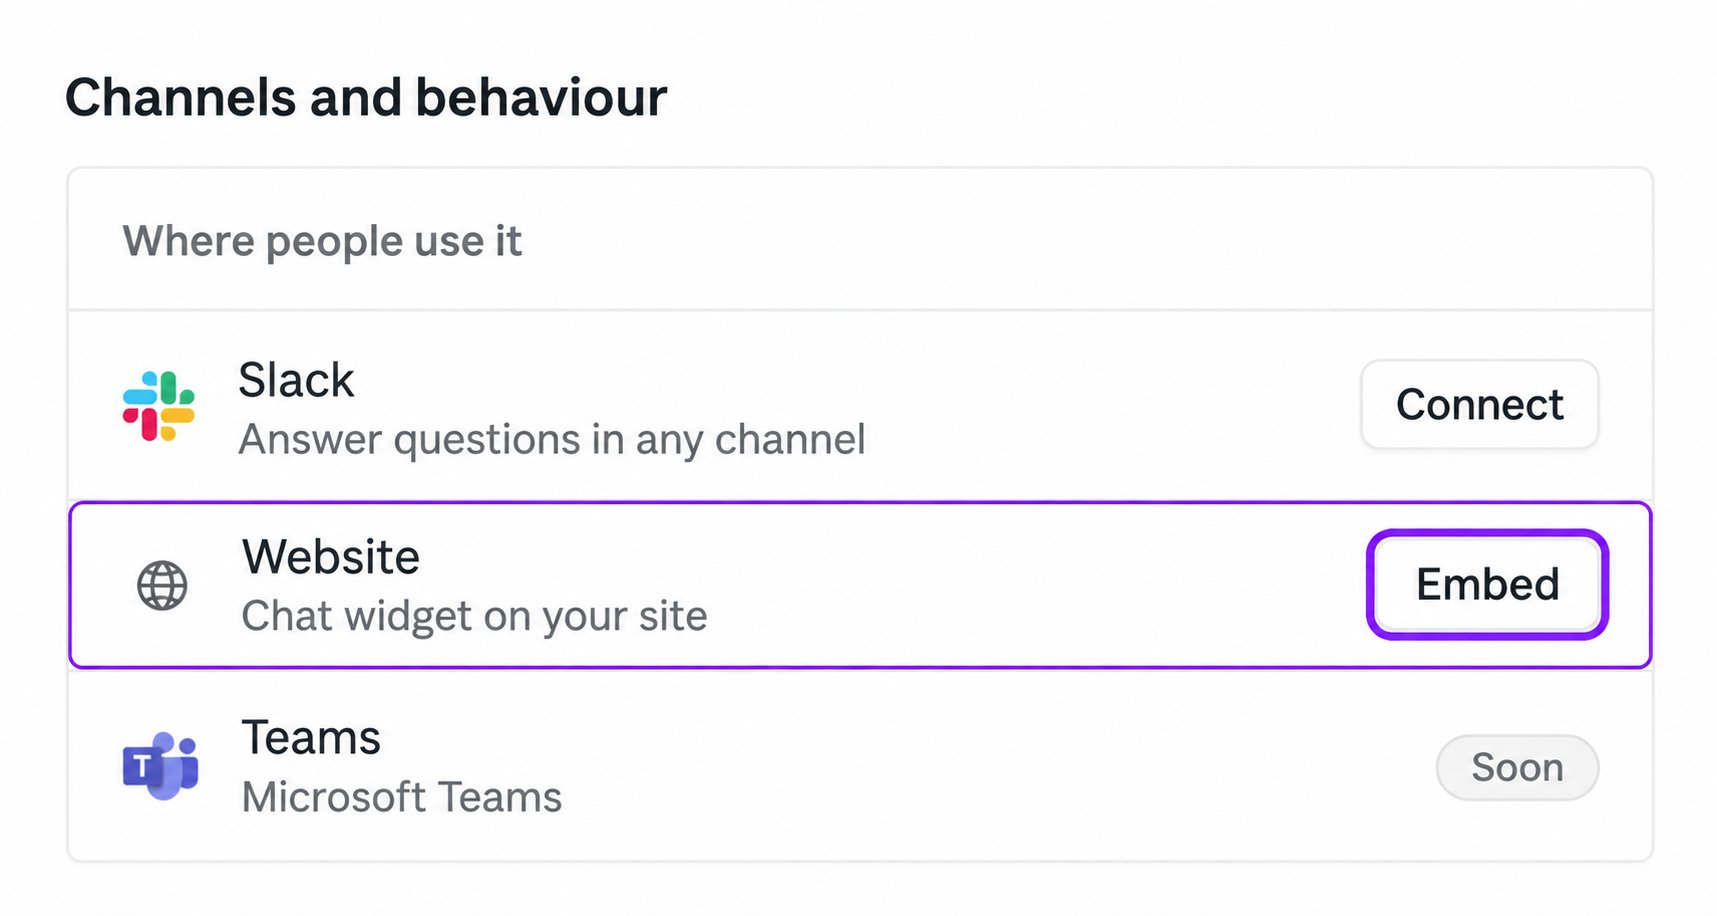
Select the highlighted Embed button in the Website row under Where people use it.
2. Configure the service account
Use Open service accounts to create or select an account. Grant only the workspace role, agent, and data access required by the chat. An Editor service account can also create artifacts. Those artifacts are shared with the person who created the service account; visitors do not see them in the widget.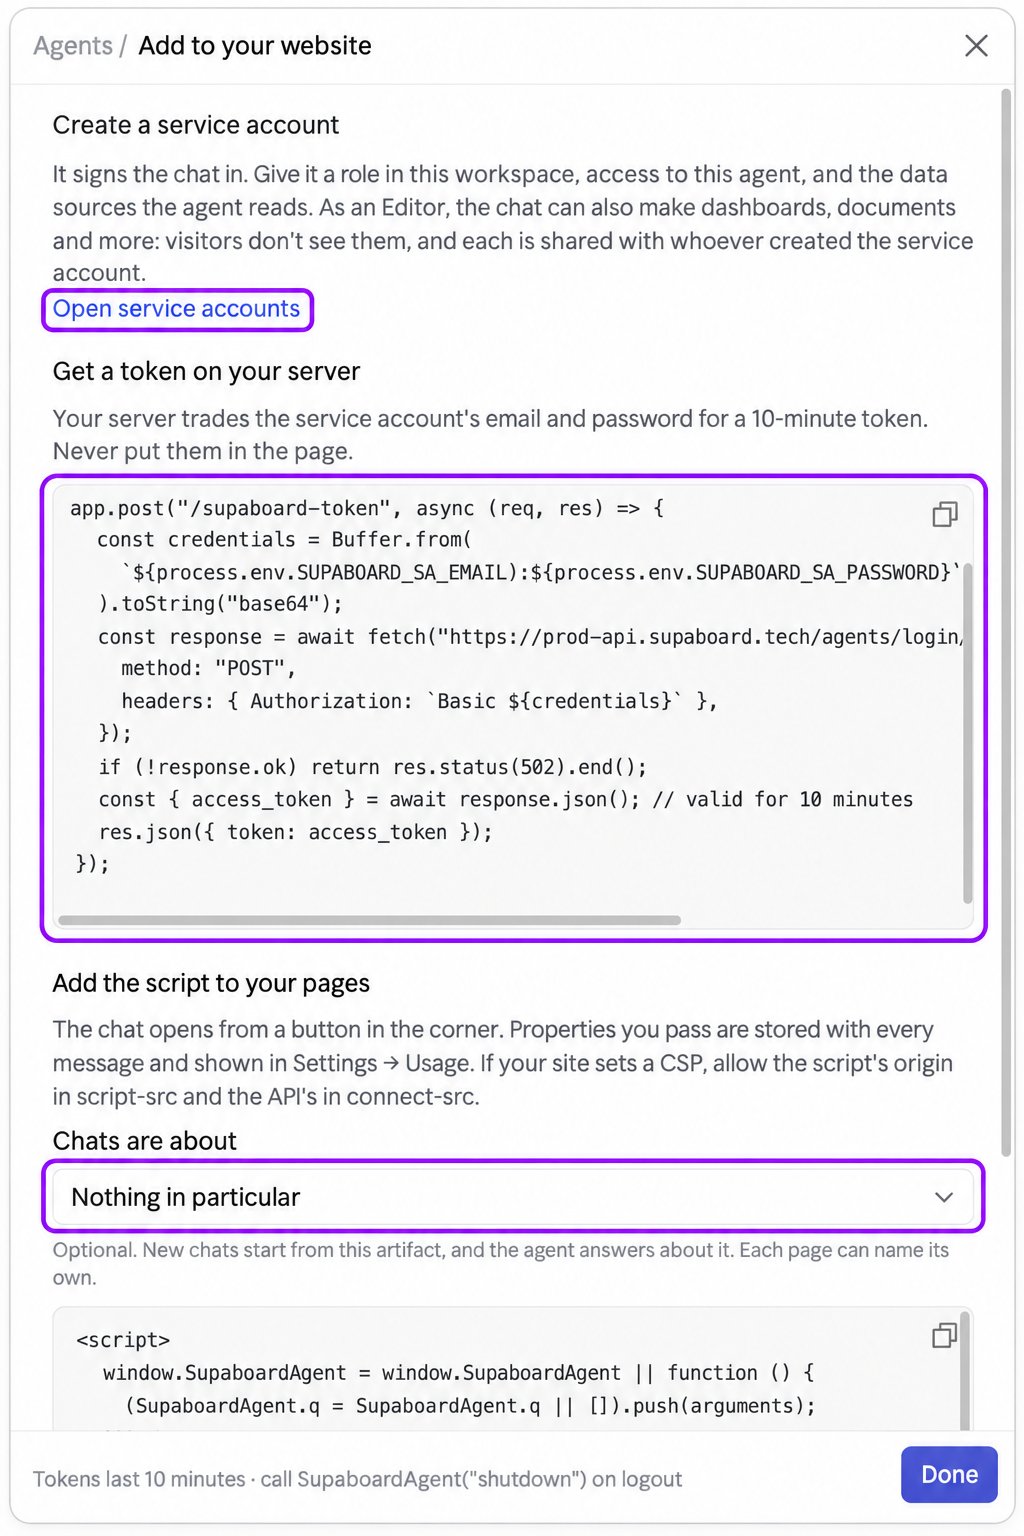
The highlighted controls show where to open service accounts, copy the server token example, and optionally choose an artifact under Chats are about.
3. Issue tokens from your server
Adapt the dialog’s server example to your application. Keep the service account’s email and password on the server. Protect your token endpoint with your application’s login so only intended users can request tokens. The server exchanges those credentials for an agent token that lasts 10 minutes. The widget’sgetToken callback requests a fresh token when needed.
4. Add the website script
Copy the script from the dialog into your page. Optionally choose an artifact so new chats begin with that artifact as context. You can also pass properties such as your application’s user identifier; these are recorded with messages and appear in Settings → Usage. If your website uses a Content Security Policy, allow the widget script’s origin inscript-src and the API’s origin in connect-src. Call SupaboardAgent("shutdown") when the visitor signs out.