

Connect the database or app that holds the information you want to analyze. Once the connection is ready, Supaboard can use it in questions, queries, and artifacts.

Before you begin

You need permission to add data sources. For a database, ask the person who manages it for its connection details and the approved network access method. Use the connector-specific guide for required fields and permissions.

1. Choose the connector

Open Data sources → Connect Data Source. Search for your database or app, or browse Databases and Apps & Services.
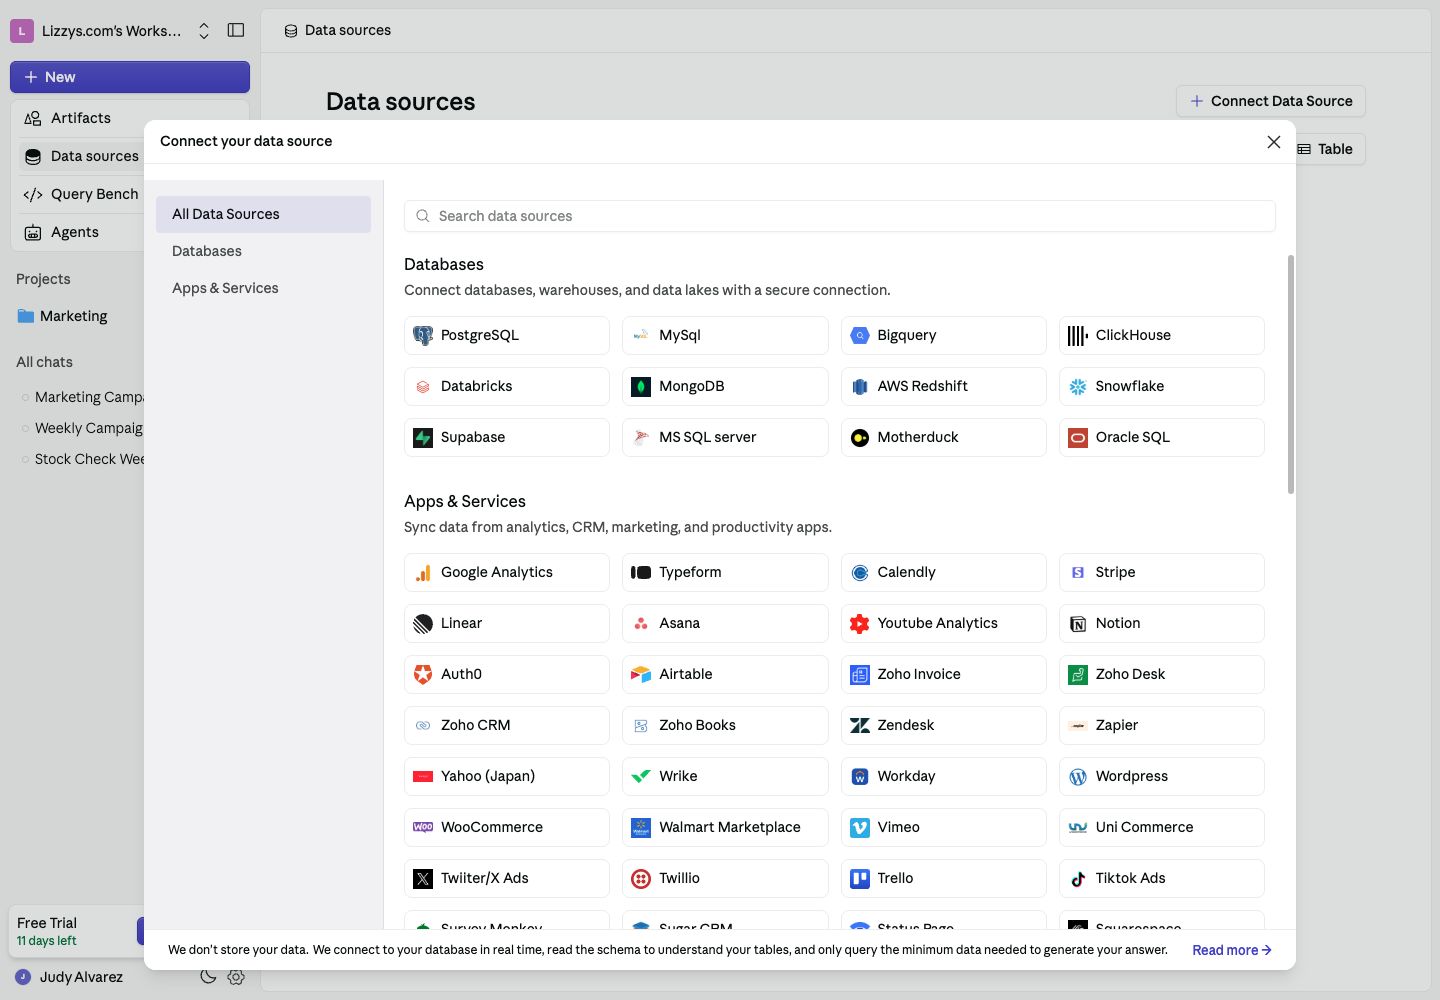
Connect your data source dialog with database and app connectors

Choose the service that holds your data.

2. Complete setup

Give the connection a name your team will recognize. For a database, enter its connection URL or the requested host, database, username, and password. Configure SSL and any tunnel or VPN required by your network. The database form shows Supaboard IP addresses to allow in your firewall. Copy the current list from the form rather than using addresses from a screenshot. For an app connector, follow its authorization and synchronization flow. Check the connector’s guide for availability and setup requirements.

3. Connect and wait for discovery

Choose the connector’s Connect button. Supaboard checks the connection and discovers its schema—the tables and columns it can use. Some sources need time for an initial sync or schema preparation. If setup fails, check the error against the connector’s troubleshooting section before trying again.

4. Check the tables and agent access

Open the new source and confirm the tables you expect are present. In Settings → Connections, review its connection details, table context, and instructions when needed. Make sure the agent you will use has access to this source. A working connection does not override a teammate’s resource restrictions or an agent’s data scope.

Expected result

The source appears in Data sources, the intended tables are available, and your chosen agent can answer a simple question using them.

Next steps

Connect PostgreSQL, set up an agent, or ask your first question.
Last modified on October 2, 2026