

Use a Datasite when your audience needs a designed page with its own layout, navigation, and interactive data. Start with a brief, review the preview, and publish after it is ready.

Before you begin

You need permission to create Datasites and an agent with access to the data you want to use. Prepare the audience, key metrics, date range, and any reference files or brand assets.

1. Start from Artifacts

Open Artifacts → New Artifact → Datasite. Enter a Name and Description, and select a project if this work belongs with an existing initiative. Choose Build with AI to continue with your brief. You can also use the Datasite shortcut on Home or ask for a Datasite in an existing analysis chat. Choose Build Manually in the artifact form when you want to start in the editor yourself.
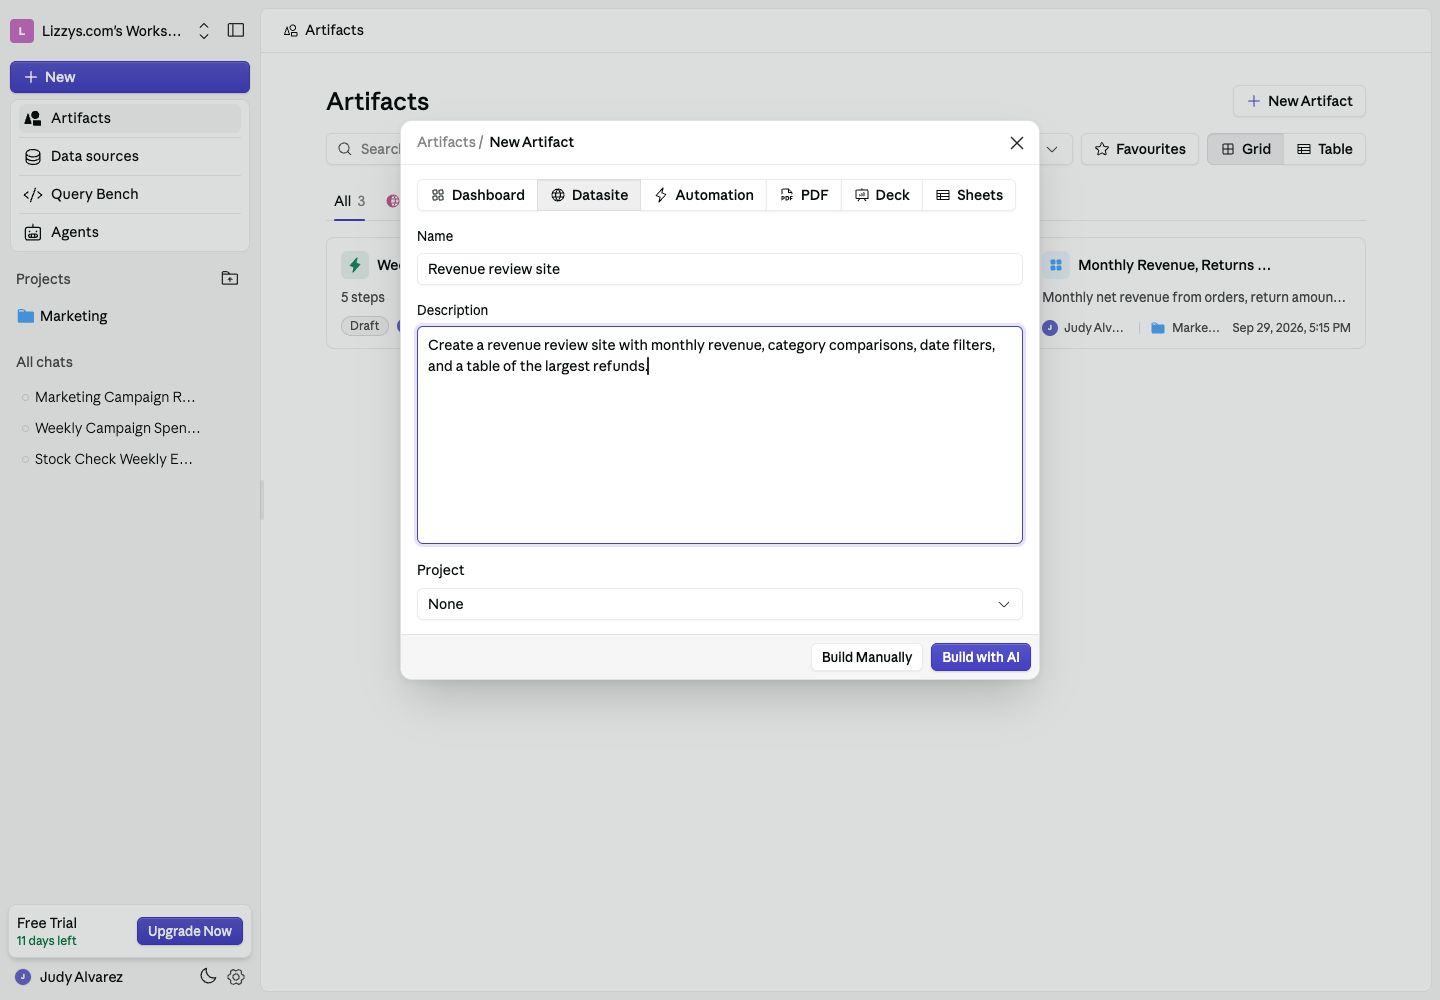
New Artifact form with Datasite selected and a revenue review brief

An example brief in the New Artifact form, before building the site.

2. Describe the page

Give the Analyst a specific outcome:
Create a revenue review site for our operations team. Show completed orders and net revenue for the last 12 months, followed by a category breakdown. Add a date filter and a table of the largest refunds. Use a simple light layout and explain each metric.
Name the source or agent when several could fit. Attach a logo or reference document if it should shape the result. Check any questions about metric definitions before continuing.

3. Build and review

In the Datasite editor, Build creates or changes the site. Use Plan for a proposed approach first, or Ask to ask questions without changing the site. After a successful build, use Preview to inspect the page. Check the Desktop, Tablet, and Phone sizes, try its filters, and compare key numbers with a known result. The Glossary tab holds the saved queries behind the page.

4. Refine a specific part

Use Select & edit elements in the preview toolbar, then click the part you want to change. Describe the change in the chat, such as “Show the comparison period under this KPI.” Review the new preview before continuing. If a build fails, read the error and use Fix with AI. A failed preview does not replace the published version.

Expected result

You have a working preview with the intended layout, data, and filters. It is ready for review by your team; publishing is a separate step.

Next steps

Publish and share the site, add custom domains, or manage variables.
Last modified on October 2, 2026